We had our first Real Cheap Housewives Christmas party. Let me tell you, it was excellent. Its always great when we can all get together, its always great when we can craft together, but just sitting around a dining room table talking and laughing is fantastic! The 8 kids running around didn’t even bother us … too much.
As Heather mentioned, we had food. LOTS of food. There was some wine as well. If you’re having a party of any kind, these recipes and foods would work great.
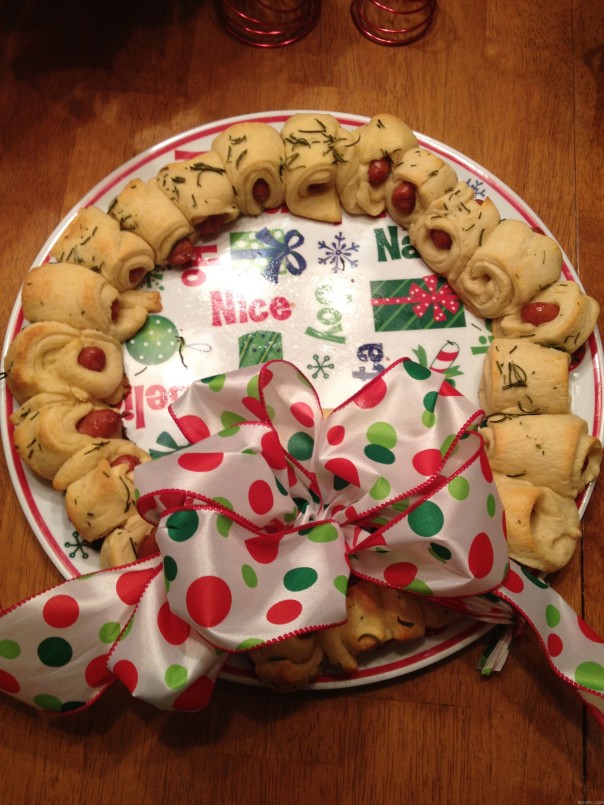
Mini Sausage Wreath
Mini sausages
Refrigerated crescent dough rolls
Red bell pepper
1/3 cup butter
Rosemary for seasoning
½ cup BBQ sauce
½ cup whole berry cranberry sauce
Preheat the oven to the temperature specified on the crescent dough rolls package.
Unroll the crescent roll dough and separate at the perforations to create 4 rectangles. Press together the remaining perforations in each rectangle.
With a knife or pizza cutter, cut each rectangle into 8 strips (for a total of 32 strips).
Wrap each mini sausage in a strip of dough. Lay out the crescent-wrapped sausages in a wreath formation with their sides touching on an ungreased cookie sheet.
Bake for 11-15 minutes or until golden brown.
While the wreath is baking, combine the BBQ sauce and cranberry sauce in a small saucepan over low heat. Stir until heated through. Serve with wreath for dipping.
Melt butter and brush the butter on top of the wreath. Sprinkle with rosemary.
Cut a red bell pepper into a bow shape for garnish.
________________________________________________________________
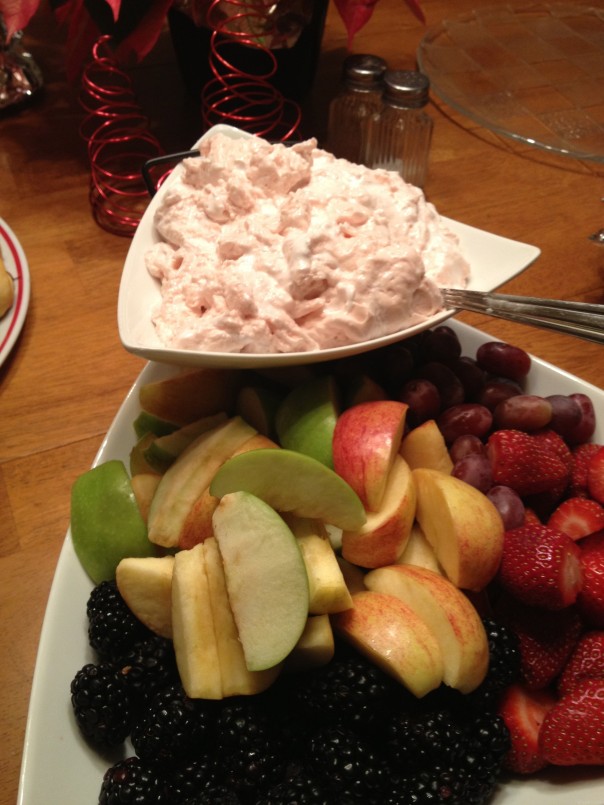
Strawberry Fluff fruit dip
Strawberry cream cheese spread – softened
Marshmallow fluff
Mix together, refrigerate or serve.
________________________________________________________________
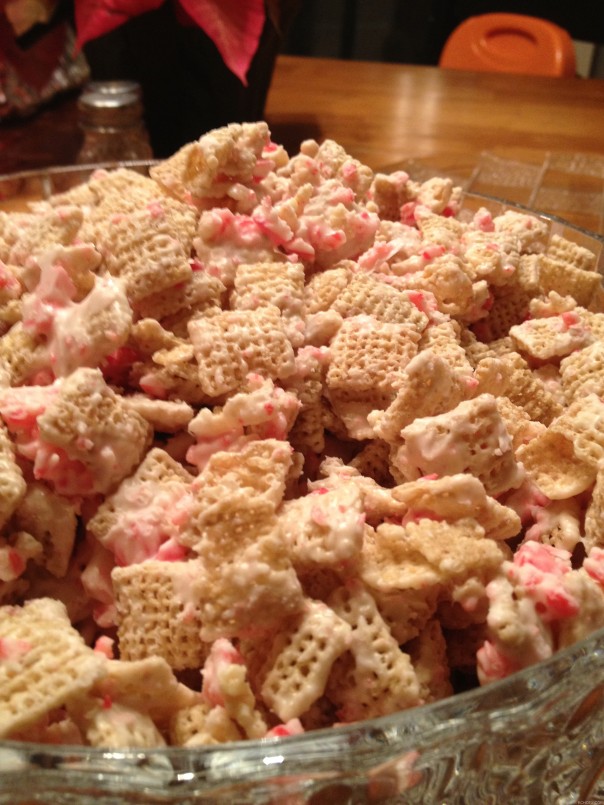
Candy Cane Chex mix
Rice Chex® cereal
White Almond bark
Crushed peppermint candy canes (about 8 regular size)
Line cookie sheet with foil or waxed paper. {I just put wax paper on the counter top} Place cereal in large bowl.
In microwavable bowl, microwave almond bark uncovered on high about 1 minute (microwaves vary, could possibly do 1 min 30 seconds), stirring every 30 seconds, until the bark can be stirred smooth. Stir in half the crushed peppermint candy.
Pour over cereal; toss to evenly coat. Spread mixture in single layer on cookie sheet. Immediately sprinkle with remaining candy. Let stand until set, about 20 minutes. Gently break up coated cereal. Store in airtight container.
________________________________________________________________
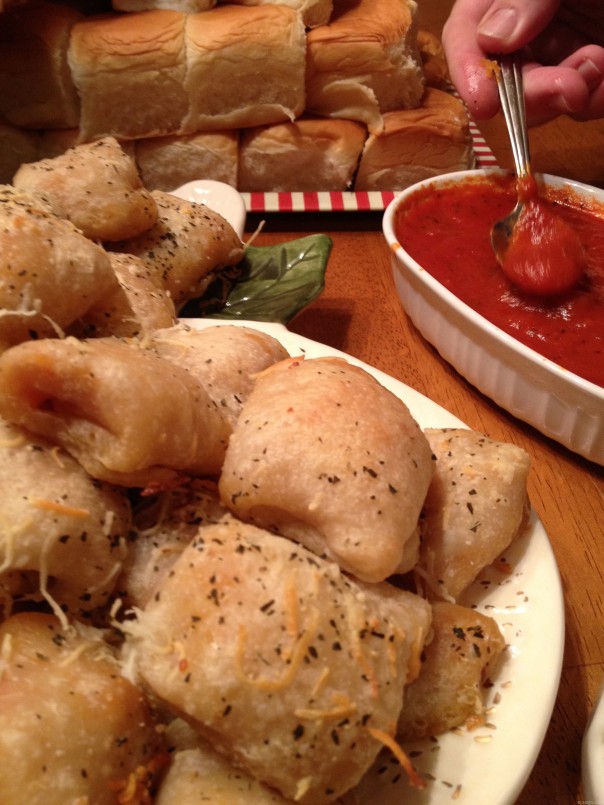
Pizza Balls
1 (13.8 oz) can of Pizza Dough
2 tbs grated Parmesan cheese
1 tbs olive oil
1/2 tsp garlic powder
1/2 tsp oregeno
2 cups shredded Mozzerella cheese
Pizza toppings of your choice (pepperoni, pineapple, ham, veggies)
Preheat oven to 400 degrees. Grease either a glass pie plate or a square 8×8 glass baking dish.
Take dough out of the can and let sit out for a little bit to get room temperature so its easy to work with. While your waiting for the dough to sit out this is a perfect time to grate your cheese.
Once dough is ready, grab a pizza cutter and cut out into 12 squares.
Take a square and fill it with the cheese and any other toppings you desire. Be careful not to fill it too full. Eyeball this.
Next, take each four corner and pinch all together, making a ball. Pinch together to seal, and then place the ball, seam side down into the glass dish. Repeat with all the other squares.Once the balls are placed in dish, drizzle with olive oil and sprinkle evenly with the oregeno, garlic powder and parmesen cheese. Bake for 16-18 minutes or until golden brown! Let cool 5 minutes before eating. Enjoy by dipping in ranch dressing ormarinara sauce
source: Life as a Lofthouse
________________________________________________________________________
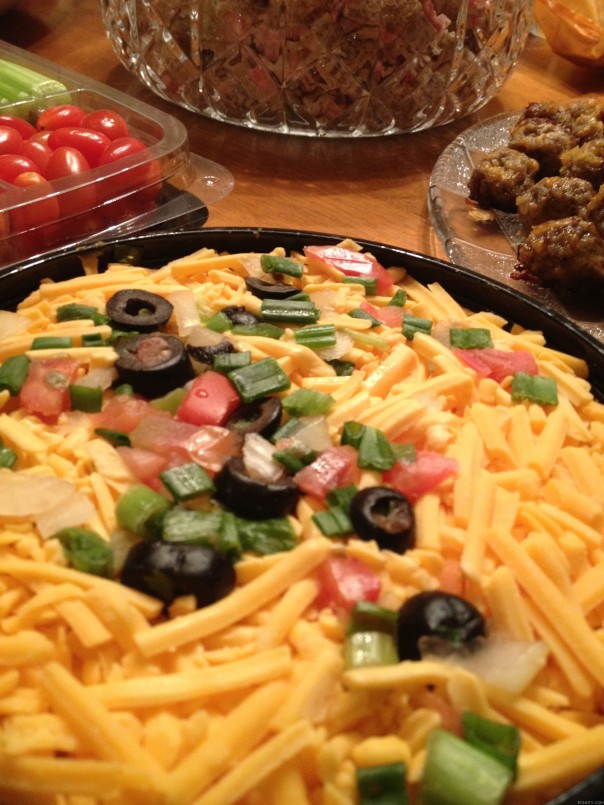
Sars’ 7 layer dip
Find a grocery store that has it and buy it.
________________________________________________________________________
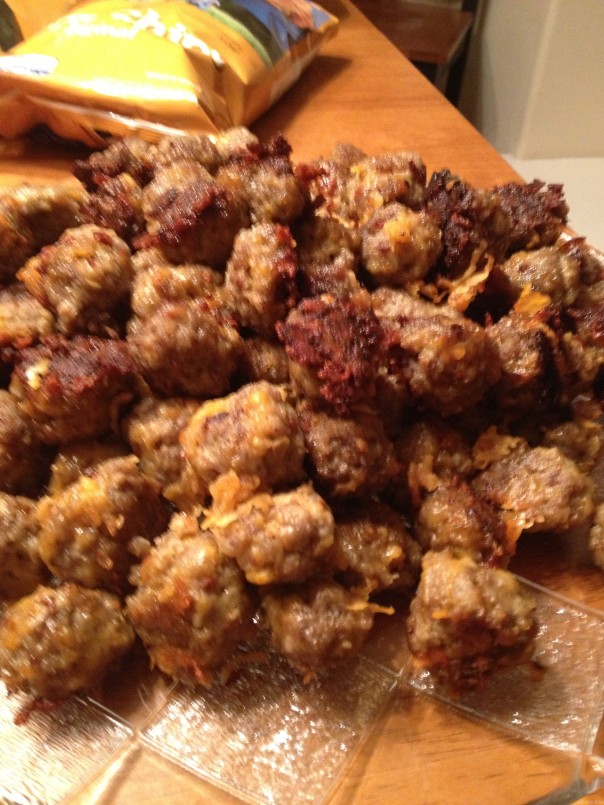
Sausage Balls
Pork Sausage – regular and sage (or if you prefer hot, go that route)
Grated cheese of your choosing (I used Colby Jack)
2 1/2 cups Bisquick
2-3 TBSP Mustard
2 tsp Garlic powder
2 TBSP Worchestire sauce
Preheat oven to 375. Pull out 2-3 cookie sheets. DO NOT grease them. I never have good results when I do.
Mix all ingredients together, leaving out Bisquick to add after everything else is well blended.
Roll 1″ balls and place on cookie sheets.
Place in the oven for 20 minutes (depending on how your oven cooks)
_______________________________________________________________________
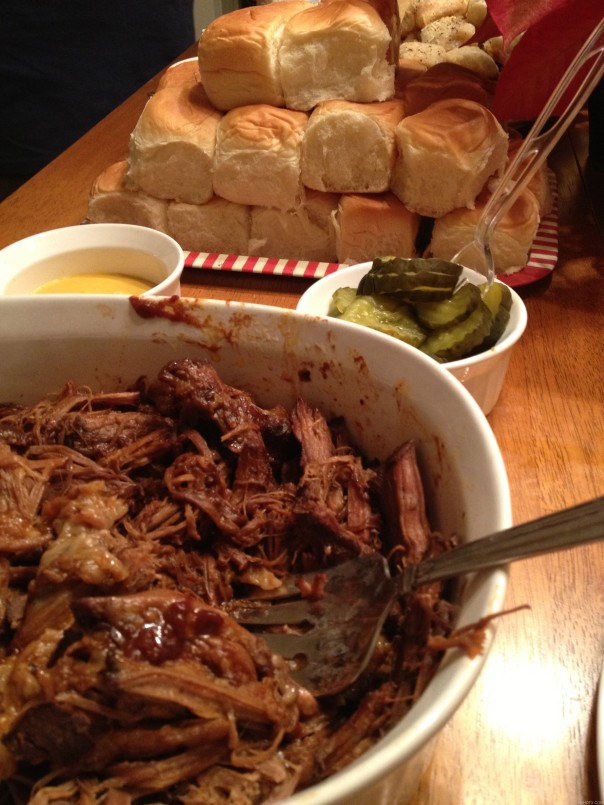
Crockpot Brisket Sliders
2-3 lb brisket
BBQ sauce of your choice (I always look for the ones without HFCS)
Hawaiian rolls
mustard
pickles
Throw the brisket and BBQ sauce in the crockpot for 6 hours on low. Serve with Hawaiian rolls.
_______________________________________________________________________

Cream Puffs ala Whitney
Find your nearest Costco.
_______________________________________________________________________
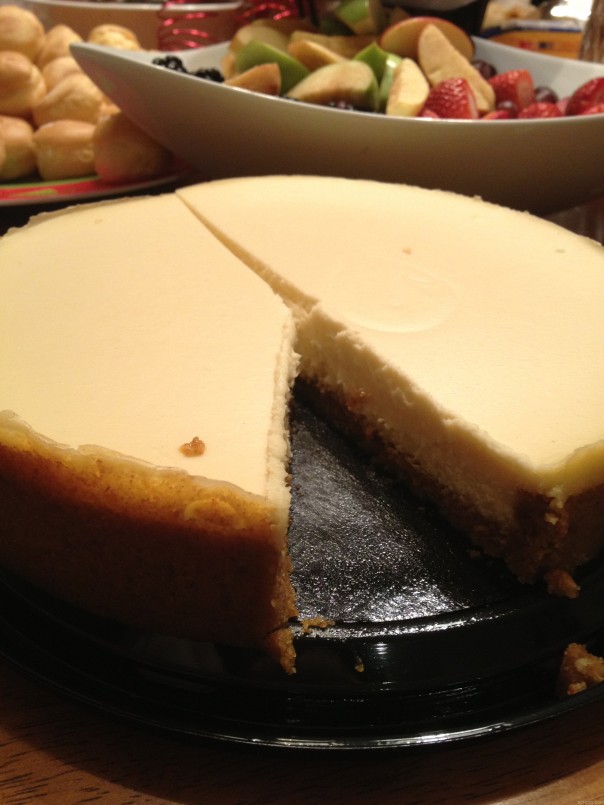
Target Cheesecake provided by Brittaney
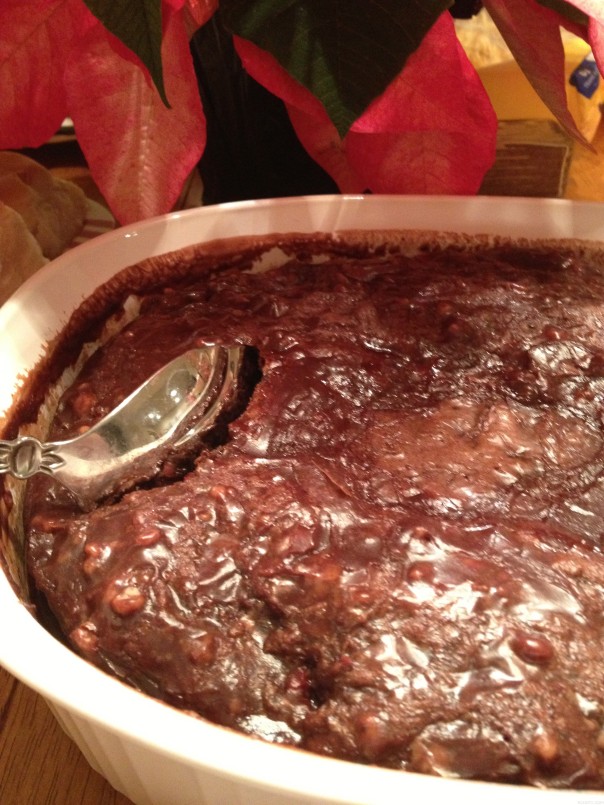
Better Than Sex — Christie brought and cooked. 🙂
_______________________________________________________________________

A picture of all of us together? NO WAY!! 🙂 Those cute little aprons we’re wearing? Christie gave those to us. (Close up in next picture!)

and just because y’all know we like to keep it classy up in here ….


